English
 Deutsch
Menu
Manuals
Manage Users
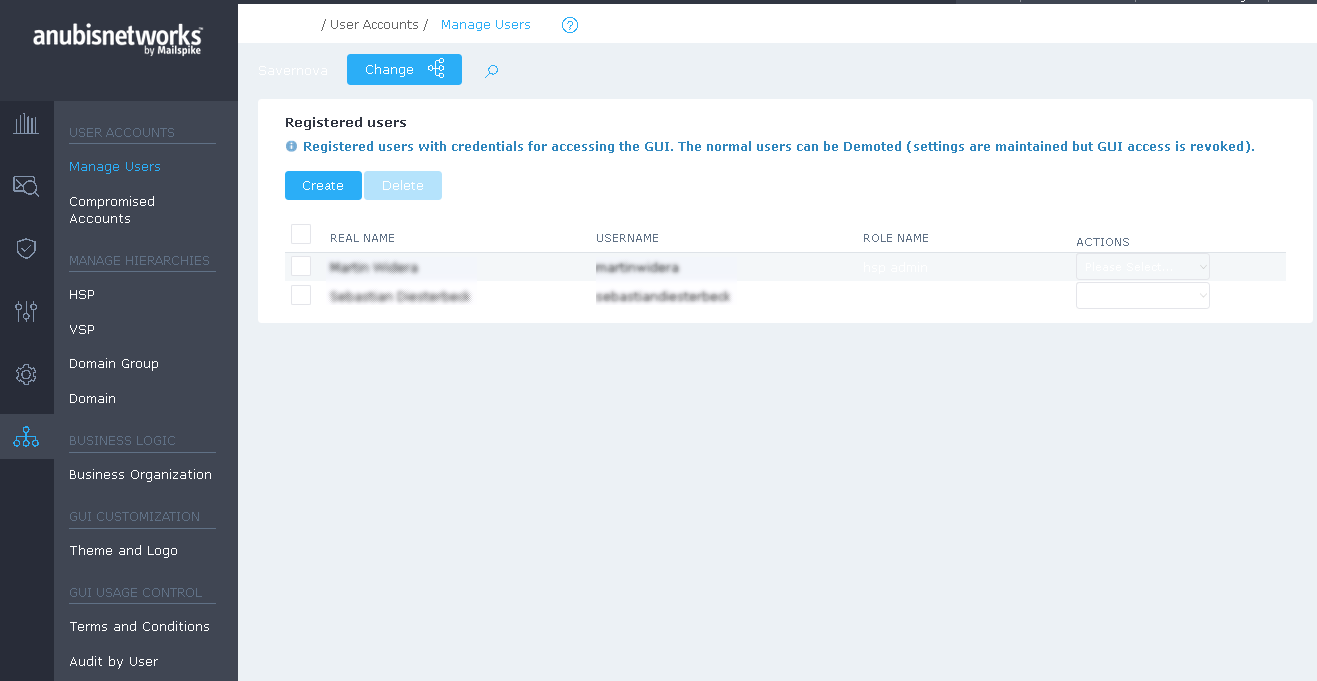
Using the table at Manage Users
You can "Add" new user and "Delete" selected (user). To delete a User, simply tick the proper square box (first column) and click the "Delete" button. You can select all users by clicking the square box on the header row.
Actions
The available Actions for every User are Edit, Impersonate and Delete.
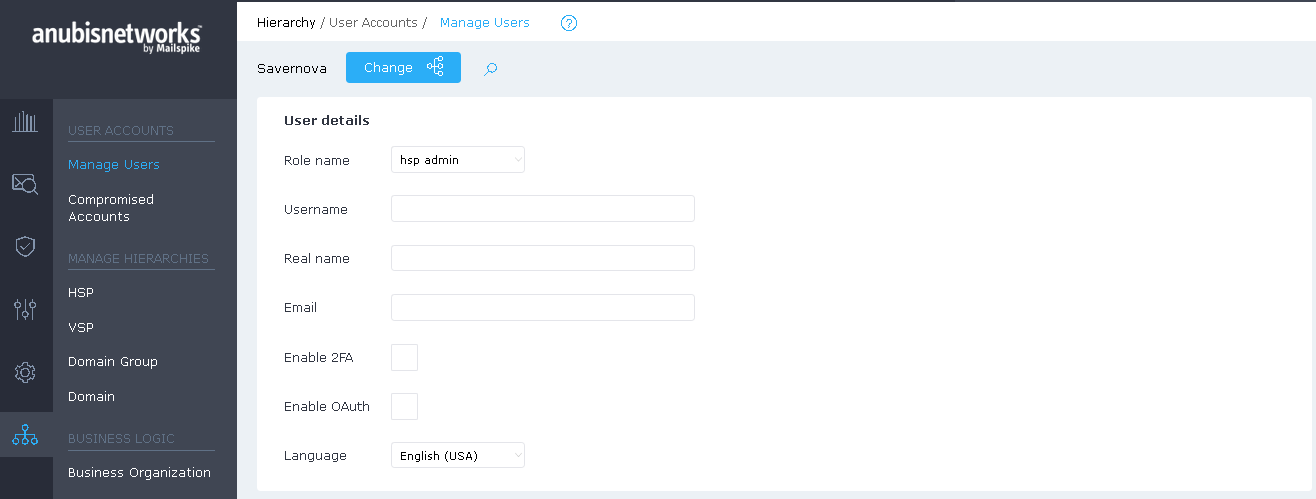
By clicking on the Username or selecting Edit from the Actions column, will bring up the Edit user interface. This form is like the "Create user " form, described in more detail in the next section. Once you have finished making changes to the user, you can commit them by clicking the Update User button.
By clicking Impersonate, you will act as that user, accessing the same environment and options of the user. You can terminate impersonation by clicking in the stop impersonate link, on the top right of the page.
Registered users
User registration in this system can be of two types:
Registered users: users with credentials for accessing the GUI.
Users without GUI access: Normal users without GUI access that have customized settings but not credentials for accessing the GUI. These users can be Promoted (to receive access credentials to the GUI)
The registered normal users can be Demoted (settings are maintained, but GUI access is revoked)
OAuth
Select to enable OAuth if the user is permitted to use Single sign-on authentication. Please note that the scope for that user (Domain) must be configured for SSO Authentication section.
Users will then be able to click on SSO Authentication in the login page. User will be redirected to the Office 365 for authentication.
Enable / Reset 2FA:
Two-factor authentication will trigger the mandatory use of two credentials to login at the system.
At Hierarchy / Manage Users, and by enabling or resetting (the same functionality since it will create a new token to be used), the user will have this functionality activated and will need to proceed as if it was a first-time login.
How does it work:
First Time login:
- Read a QR code or insert the code provided at the login in a third-party authentication application, such as Google Authenticator.
- The application will record the Two-factor-authentication method for that user, at MPS.
Regular Login:
With the Application ready, every time the user wants to log in, he/she must input:
- The usual set of User and Password credentials,
- Use the application to generate another password, only valid for that moment, and use it at login, in the proper input box (2FA)
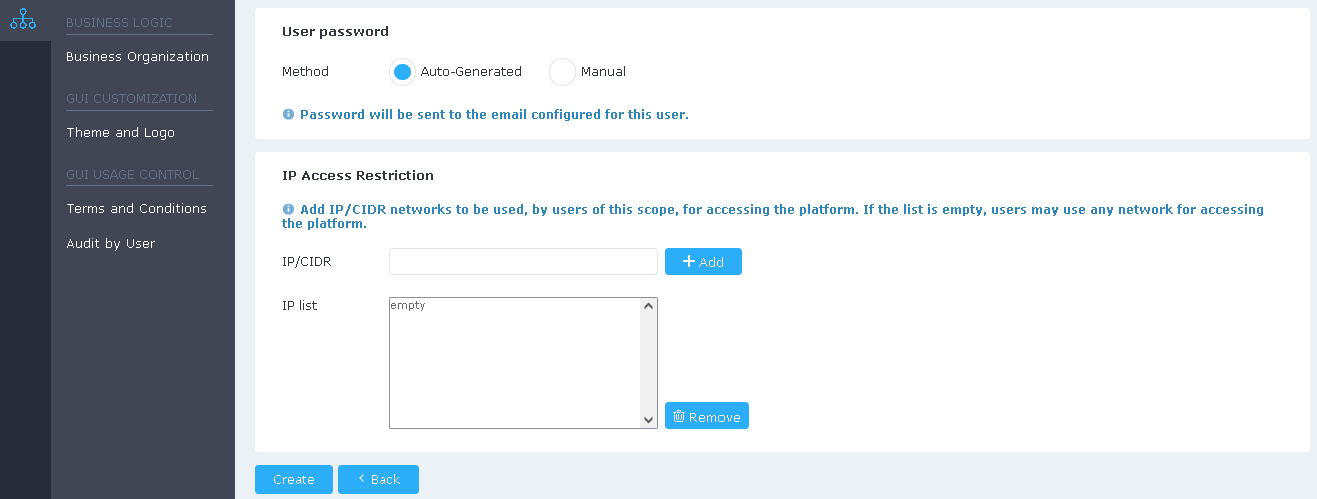
To change a password, you must choose a particular User and then:
Decide on the method to create/change the passwords:
Auto-Generated:
1. Type your current password
2. Password will be sent to the email configured for this user
3. Click on the Update password button.
Manual:
1. Type your current password.
2. Type the User new password.
3. Repeat the User password
4. Click on the Update password button.
IP Access Restriction
This functionality is useful for restricting users from logging into the platform coming from unknown locations.
By adding one of several IP/CIDRs to the list, only the networks on that list will be permitted for accessing the platform. If the list is empty, every network will be allowed (unrestricted access).
- For adding an IP/CIDR to the list, type in the IPv4 and/or IPv6 network and click "Add".
- For removing one or more IP/CIDR entries from the list, select the entry/entries and click "Delete".